Is Your Home a Good Candidate? (Age, Fabric & Heat Loss)
The age of your home affects how easy the retrofit will be. Newer homes often have better insulation and fewer drafts. They need less heat to stay warm. Underfloor heating works very well in these homes because it can run at gentle temperatures and still meet the demand. Much older homes can also work, but they need a lot more care and sometimes extra upgrades throughout.
The fabric of the building means walls, floors, windows, and the air tightness. Solid walls without insulation lose heat faster. Single-glazed windows also lose heat quickly. If your home leaks heat, the floor may need a higher output to keep rooms warm. Underfloor heating offers a steady, even warmth, but it does not give you a quick, useless blast of heat. A draughty space may take a long time to warm up unless the heat loss is reduced first.
Think about the floor build-up height. Retrofitting often adds thickness to the floor. The doors, skirting, stairs, and thresholds must all still align. Low-profile systems can add as little as a few millimetres, but you still need to plan for the change. Always make sure to check ceiling heights and any tight spots in kitchens and bathrooms. A careful check as soon as possible will help you avoid costly changes later.
Room use matters too. Open plan living rooms and kitchens are good candidates because the larger floor area spreads heat well. Small bathrooms also suit underfloor heating, especially with tiles that pass heat easily. Very small rooms with heavy furniture may have little clear floor area, which lowers output. In such rooms, a mix of underfloor heating and a small towel rail or radiator can work well.
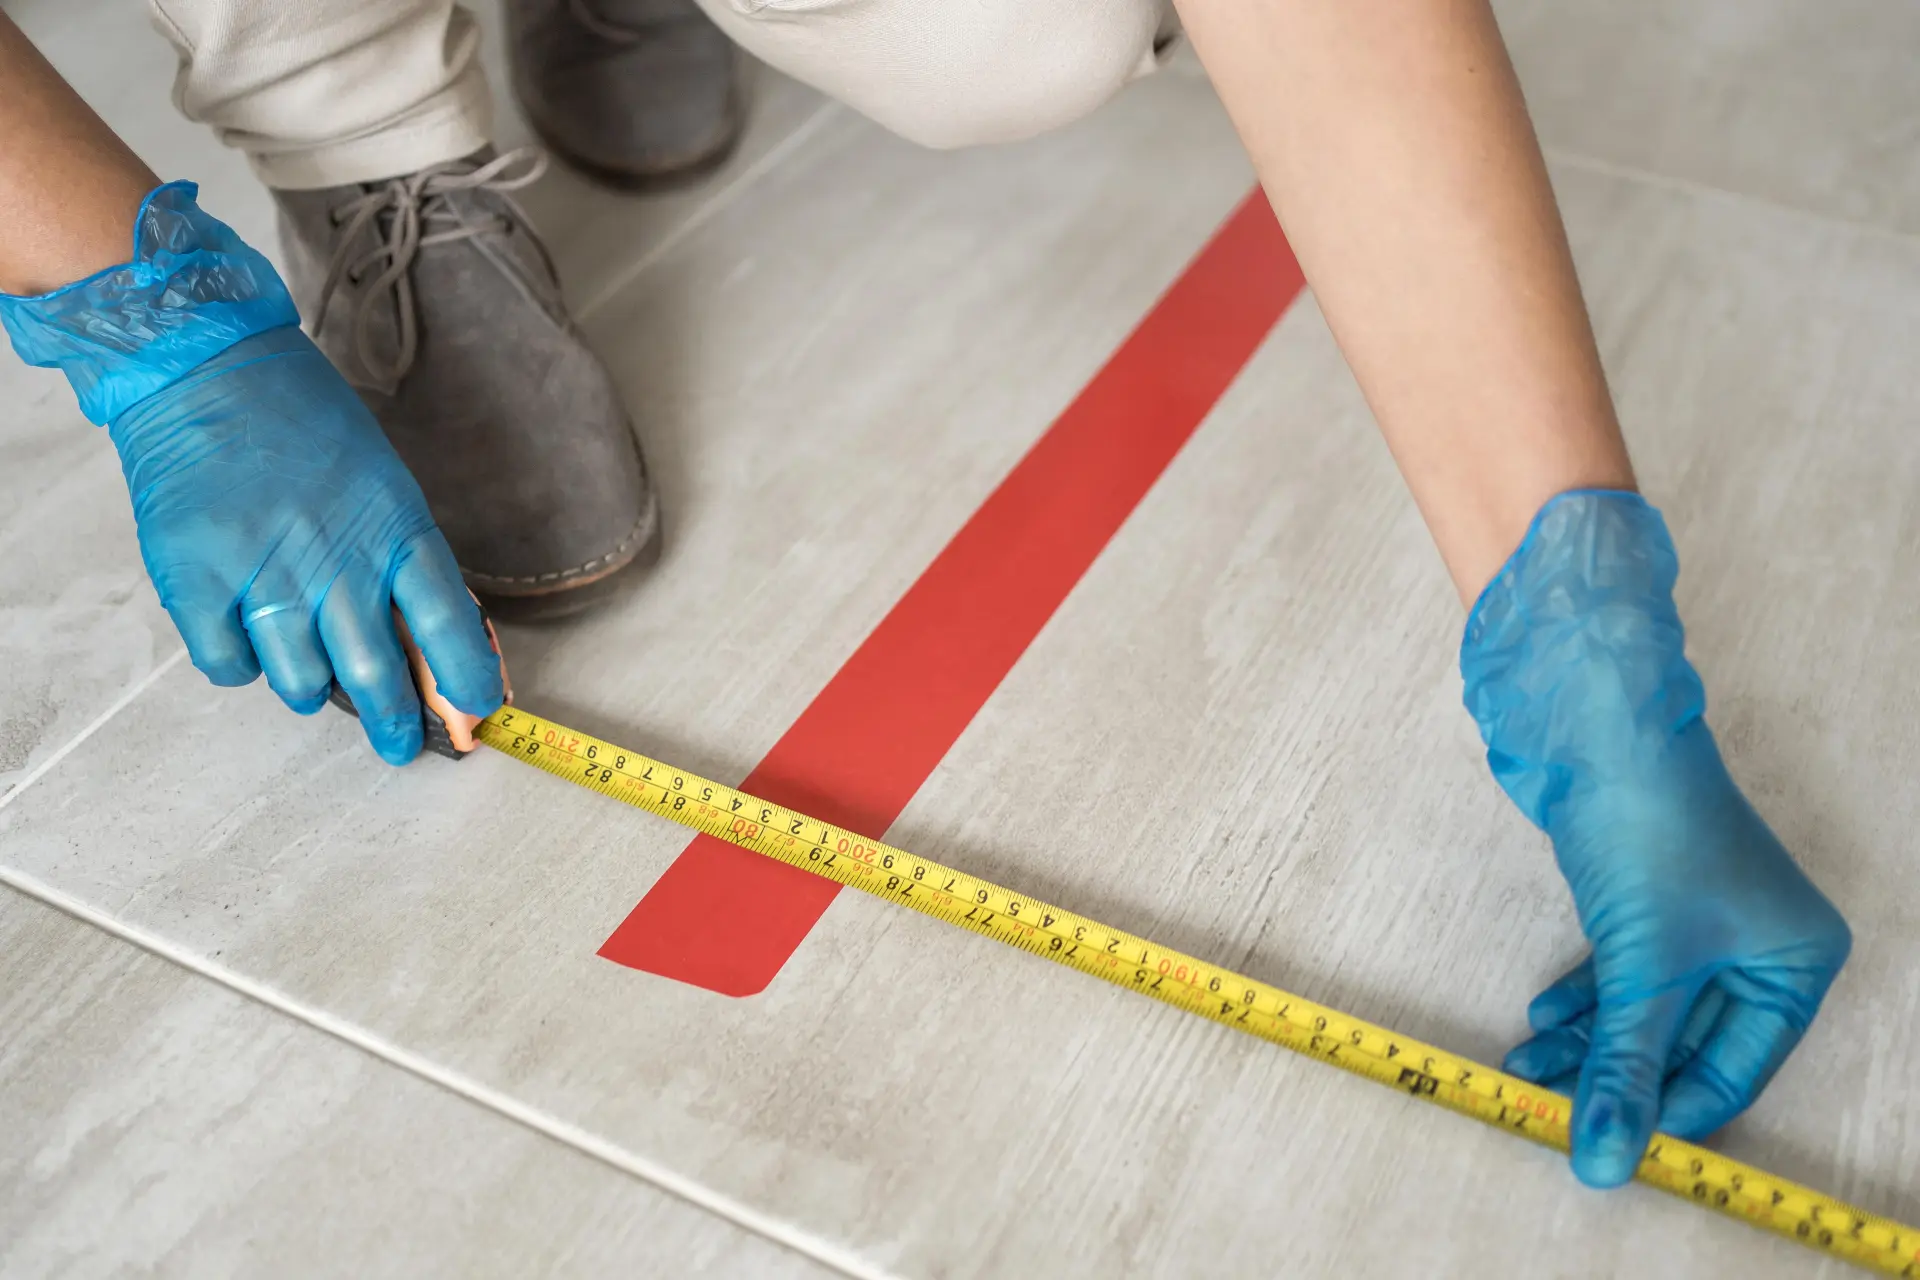
Survey & Planning: Measuring Spaces, Loads and Zones
A good survey starts with accurate room sizes. Measure length and width, then note alcoves, kitchen islands, and fixed furniture. Mark areas where you cannot lay heating, such as under built-in units, sanitaryware, or structural features. This shows the true active floor area that can deliver heat into the room. The design will usually be based on this active area, not just the full room size.
Next, estimate heat loss for each room. This depends on wall type, window area, glazing quality, floor type, and insulation levels. You can use a simple heat loss calculator to get a rough figure. The unit is usually watts per square metre. The aim is to match the floor output to this need without running very hot water. If the loss is high, consider more insulation before you fit the system.
Try to create sensible zones. A zone is an area you control on its own with a thermostat or sensor. Group rooms with similar use and temperature needs. Keep bathrooms separate so you can warm them when needed. Bedrooms can be a cooler zone. Large open plan areas may need at least two or more zones to help avoid hot and cool patches. Zoning helps get rid of waste and improves the level of comfort you experience.
It makes sense to plan the controls at the same time. Decide whereabout your thermostats will go and where any floor probes are needed. Avoid placing sensors in direct sun or near heat sources. Think about the wiring paths so the install is neat and hidden. Good control positions help the system run at the lowest temperature that still feels comfortable.
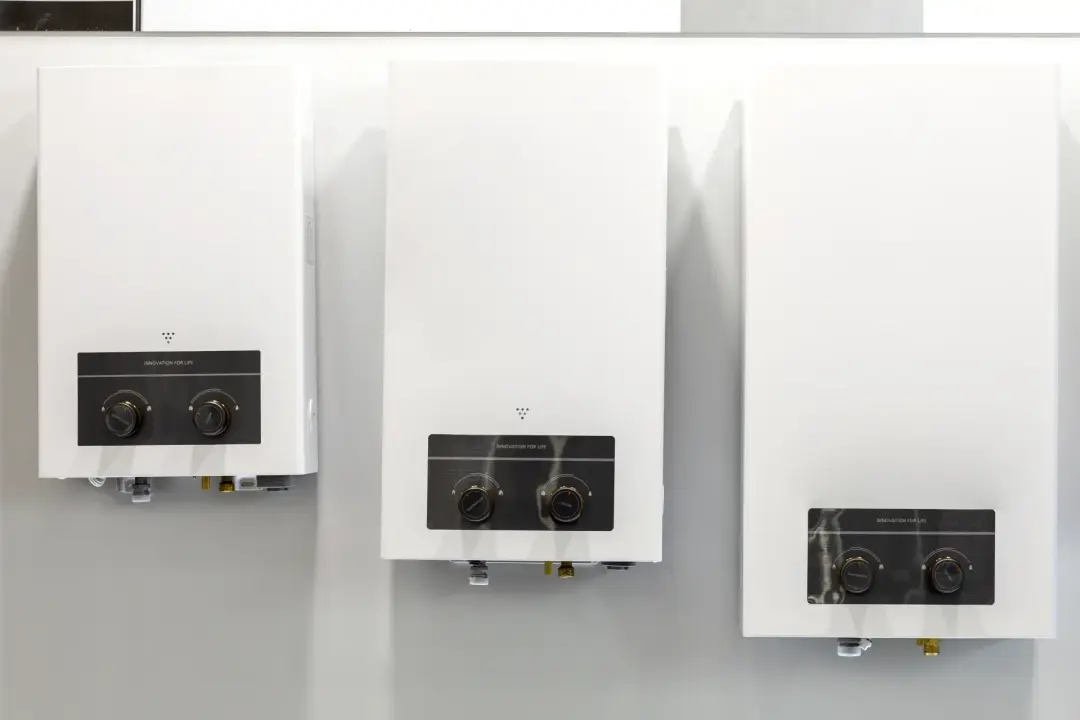
Choosing a System: Low-Profile Hydronic vs Electric Mats
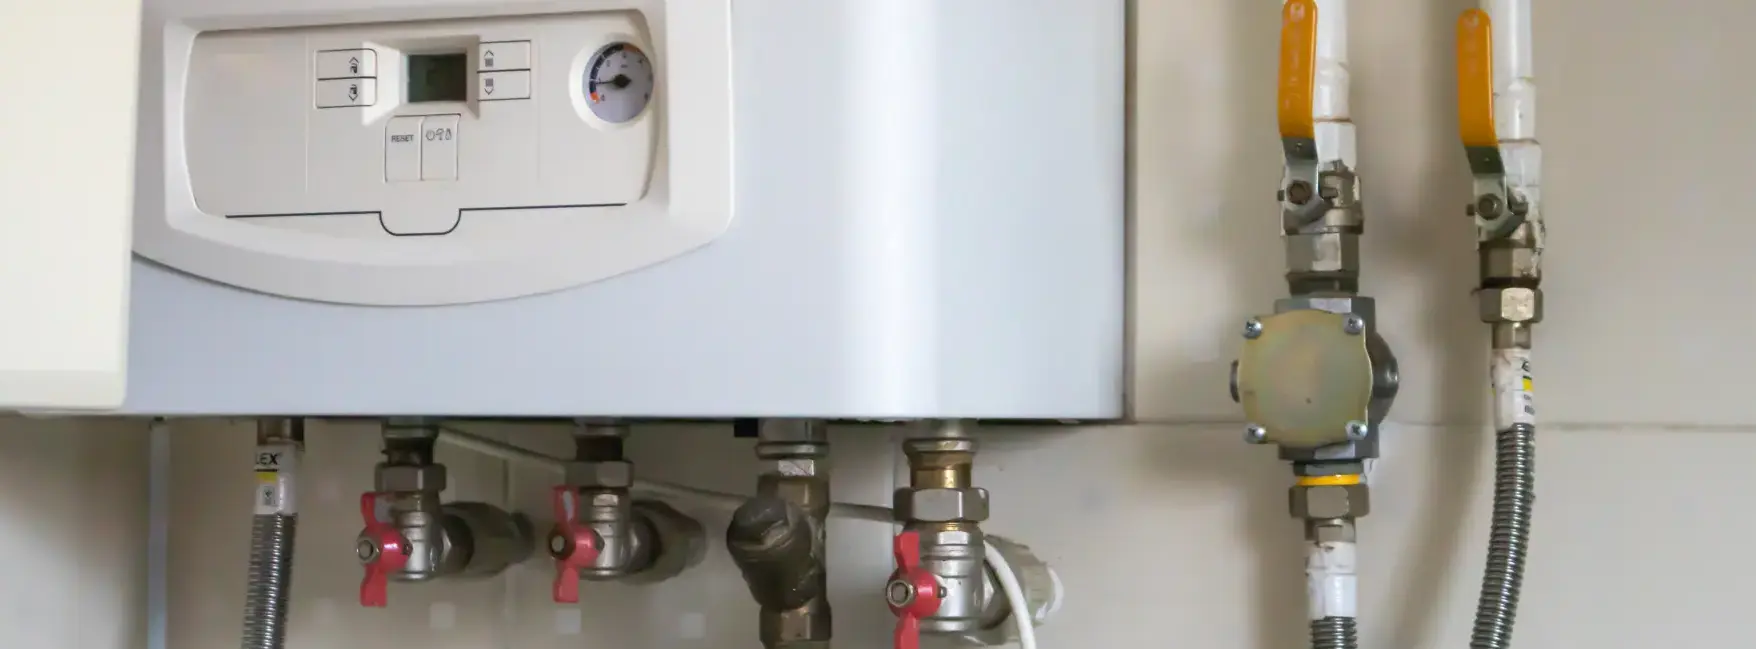
Low-profile hydronic systems use warm water in thin pipes that sit in channels or shallow boards. They connect to a boiler or a heat pump. Because the whole floor area emits heat, the water can be cooler than in a radiator system. This suits heat pumps very well. Low-profile build-ups can be light and fast compared with much thicker screeds, so they are popular in retrofit projects.
Electric mats use cables that turn electricity straight into heat, and they are very thin and quick to install. For small rooms like bathrooms, they can be a neat choice. They warm tiles quickly and are easy to control with a timer and thermostat. The running cost depends on your electricity unit rate, since there is no gain from lower water temperatures.
It's also wise to think about the total energy use and tariffs. Hydronic systems can be a lot cheaper to run over time, especially with a heat pump and good insulation. They can also work with modern condensing boilers at lower temperatures, and may also suit spot heating or rooms that are typically used for much shorter periods.
Insulation First: Slab, Suspended Floors and Retrofit Boards
Concrete slabs can be good heat stores if insulated on the underside or at the edges. If your slab is uninsulated, a lot of heat can disappear into the ground. In this instance, it's best to add an insulation layer on top before the heating layer. Even a thin, high-performance board can make a big difference. The aim is to push heat up into the room, not down into the structure.
Suspended timber floors lose heat to the void below if there is little insulation. Insulation must be fitted between the joists and an airtight layer added above. Make sure all your vents and moisture control remain sound. With the void losses reduced, underfloor heating can run at lower temperatures and still meet the load. This improves your comfort and helps cut the running costs.
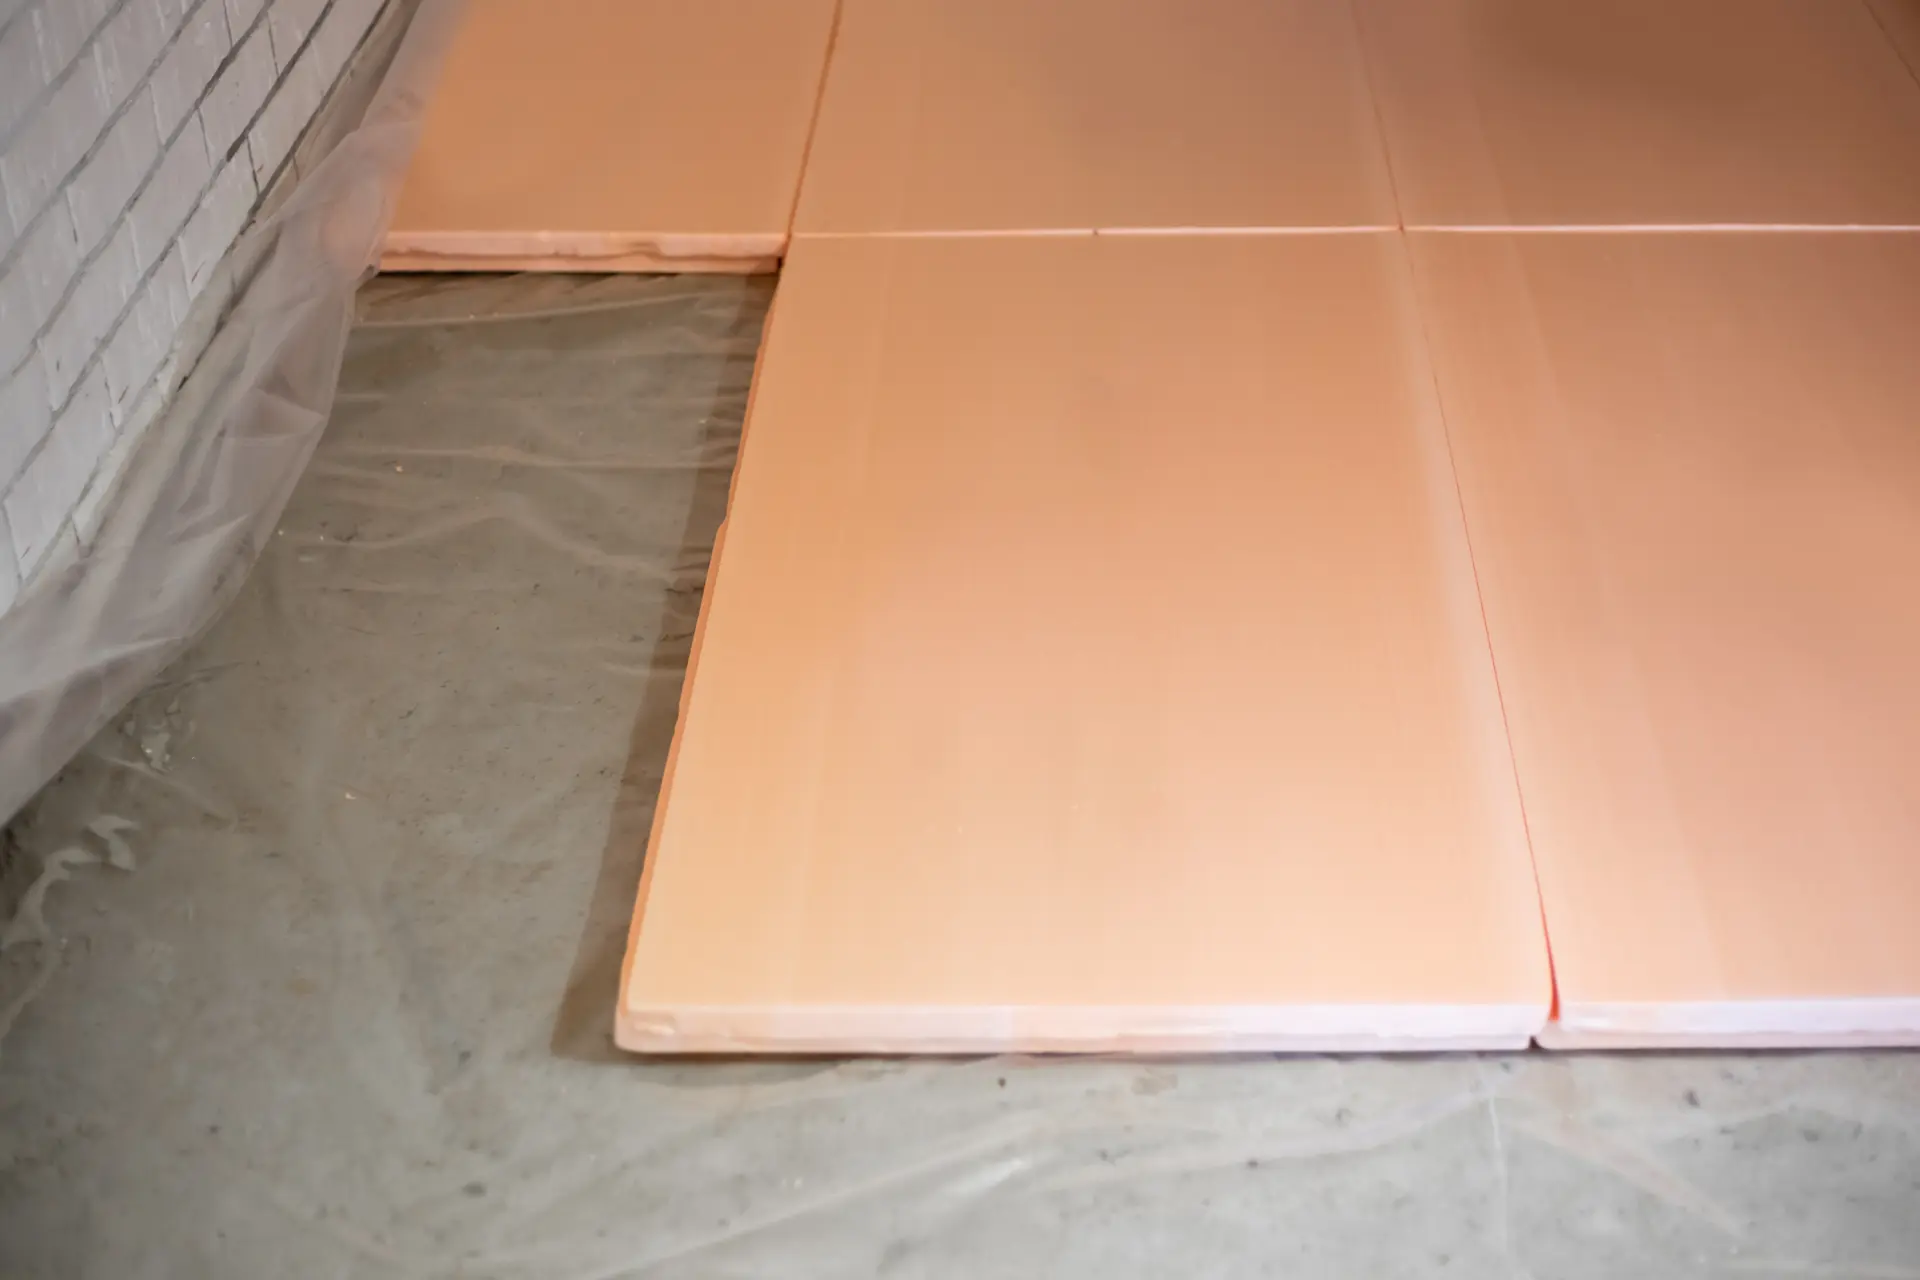
Retrofit overlay boards combine channels for pipes with a layer that spreads heat. Many boards include foil or aluminium spreader plates to improve heat transfer. Some boards accept direct tiling, while others need a thin layer of fibre cement or a suitable levelling compound. Always follow the given guidance when it comes to fixings and finishes.
Under all systems, use an appropriate vapour control layer where needed. Keep the build-up dry and stable. Check that any insulation and boards are rated for the planned floor covering and the expected floor temperatures. Good insulation and careful detailing will give faster warm-up, lower flow temperatures, and better bills.
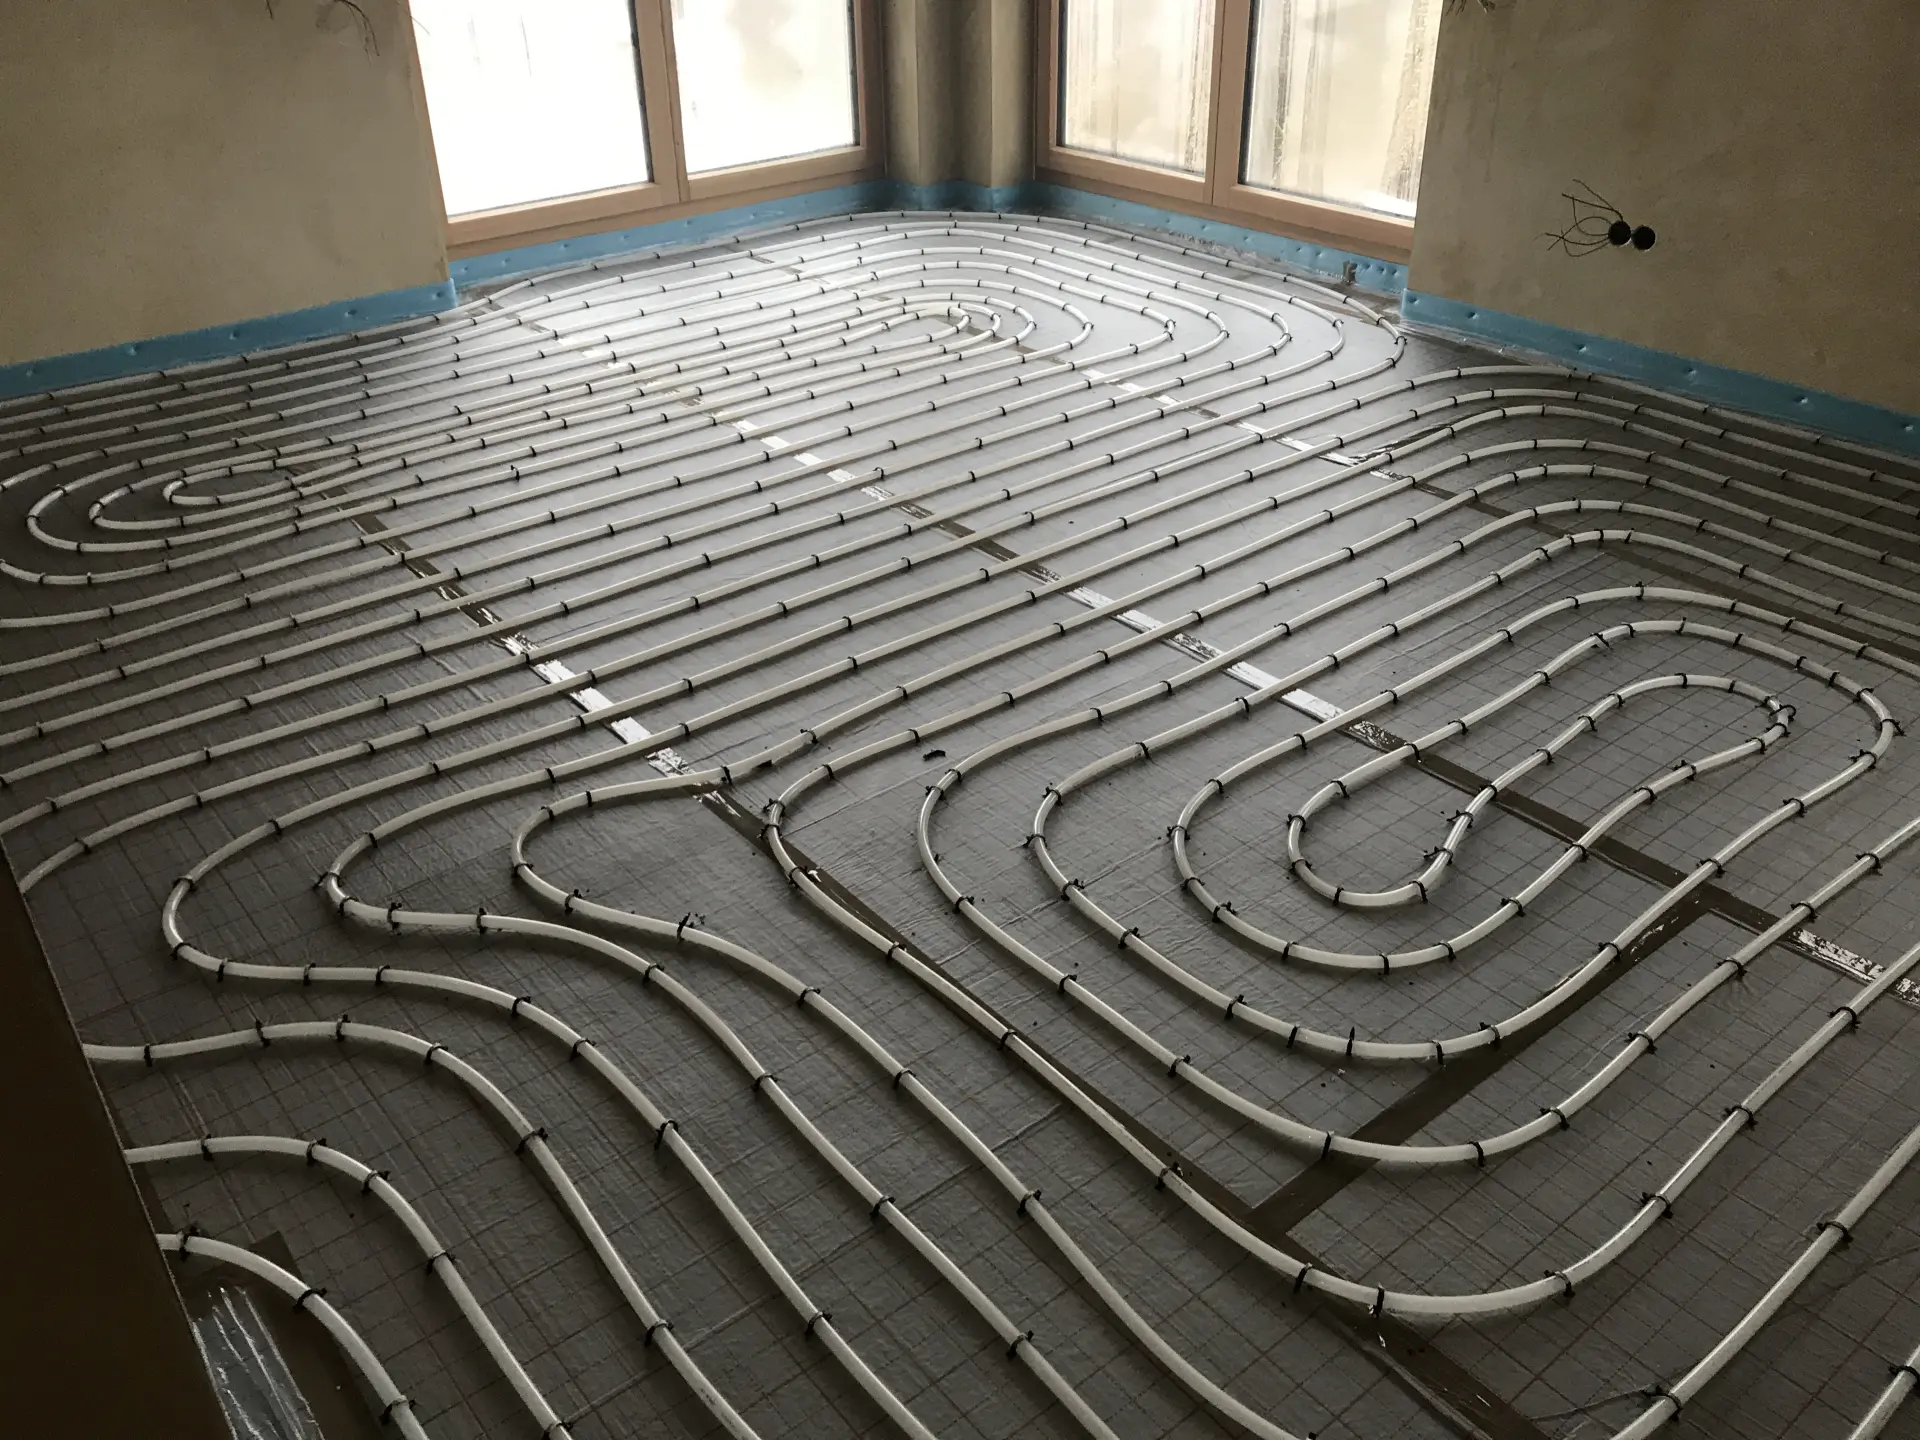
Pipework & Layout Patterns (Spacing, Loops, Manifold Position)
Pipe spacing sets how evenly the floor heats and how much heat it can deliver throughout your property. Close spacing gives higher output and a more even surface temperature. Wider spacing lowers output but can suit well-insulated rooms. Common spacings range from 100 to 200 mm. Use closer spacing near external walls and large glazing where losses are higher. Keep spacing consistent to avoid hot and cool streaks.
Choose loop patterns that balance the temperature across the room. A common pattern is the snail or bifilar layout, which brings the flow and return next to each other. This helps even out the surface temperature. The serpentine pattern can be used in areas that need a gentle gradient, but it may show more variation if the runs are long. Avoid very tight bends to protect the pipe.
Keep loop lengths within the specific design limits. Long loops increase pressure drop and reduce flow. Shorter loops are easier to balance and respond better. Many designs aim for loops under 100 metres for 16 mm pipe, but always follow the pipe maker’s guidance. Label each loop at the manifold so future checks and balance work are simple.
Then, place the manifold in a central, accessible spot, for example, a hallway cupboard or an area under your stairs can work well. Central placement keeps the loop lengths similar and limits any potential for pipe runs. You should also make sure there is power for the pump and controls, and space for actuators and valves. Leave plenty of room for service and future changes.
Underfloor heating is an energy-efficient and modern solution for homes and businesses, providing even heat distribution and enhanced comfort. I specialise in installing, maintaining, and upgrading both electric and water-based underfloor heating systems across Nottingham, Mansfield, and Derby.